How to install a PCB antenna in a metal chassis
Introduction:
In the world of electronics, Printed Circuit Boards (PCBs) are an integral part of almost every electronic device. With the advancement of technology, the size of PCBs has reduced, due to which it has become challenging to accommodate the antennas within the available space. To solve this problem, metal enclosures are being used to house the PCBs and their antennas. In this article, we will discuss the process of mounting the PCB antenna onto a metal enclosure.
Requirements:
Before we begin, let us list the items we will need:
1. PCB
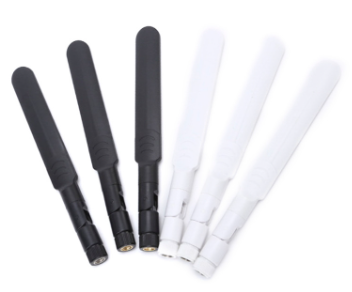
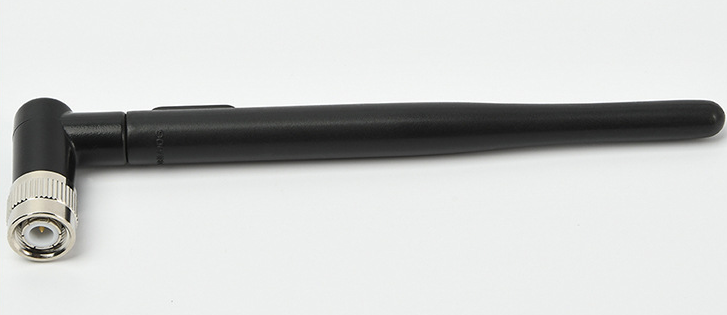
2. Antenna
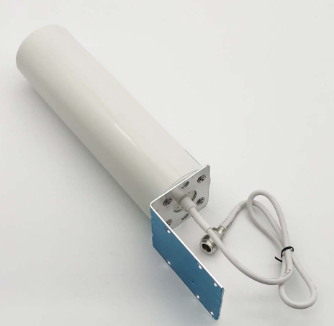
3. Metal Enclosure
4. Soldering Iron
5. Solder wire
6. Screws and nuts
7. Marker
8. Drill and drill bit
9. Small saw or cutter
Steps:
1. PCB Layout:
The first step is to design the PCB layout with an antenna in mind. The antenna's position on the PCB should be such that it is far away from any metallic components, including the enclosure's walls. This will ensure that the antenna's performance is not affected by any interference from the enclosure's structure. Once the PCB layout is complete, we can move on to the next step.
2. Determine the antenna's position on the enclosure:
Before we start drilling holes in the enclosure, we need to decide the antenna's position. For this, we need to consider the PCB's position inside the enclosure and the antenna's orientation. Once we have decided the antenna's position, we can mark the same on the enclosure. We can use a marker or tape to mark the position.
3. Drill holes for antenna:
Using a drill and a drill bit, we need to drill the holes on the metal enclosure at the marked positions. The holes should be of the same diameter as the antenna's mounting holes. Once the holes are drilled, we can proceed to the next step.
4. Mount the PCB:
Place the PCB inside the enclosure and fix it using screws and nuts. Ensure that the PCB is mounted in such a position that the antenna's mounting holes align with the holes on the enclosure.
5. Solder the antenna to PCB:
Once the PCB is mounted securely, we can move on to soldering the antenna to the PCB. Soldering the antenna to the PCB requires a soldering iron and solder wire. Apply some flux on the PCB's pads and the antenna's legs, and heat the joints using a soldering iron. Once the joints are heated, apply solder to join the antenna to the PCB. Ensure that the solder joint is strong and clean.
6. Finishing:
After soldering the antenna to the PCB, trim the antenna legs using a small saw or cutter. This will ensure that the legs do not touch the enclosure's walls and cause a short circuit. Once everything is done, ensure that the enclosure is fixed securely, and there is no movement.
Conclusion:
We have discussed the steps involved in mounting a PCB antenna onto a metal enclosure. It is crucial to ensure that the antenna's performance is not affected by any interference from the enclosure's structure. Following the steps mentioned above will help you mount the antenna securely and ensure top-notch performance.